Introduction
This guide briefly explains how you create a new checklist, copy an exsisting checklist and edit them on the Qarma website
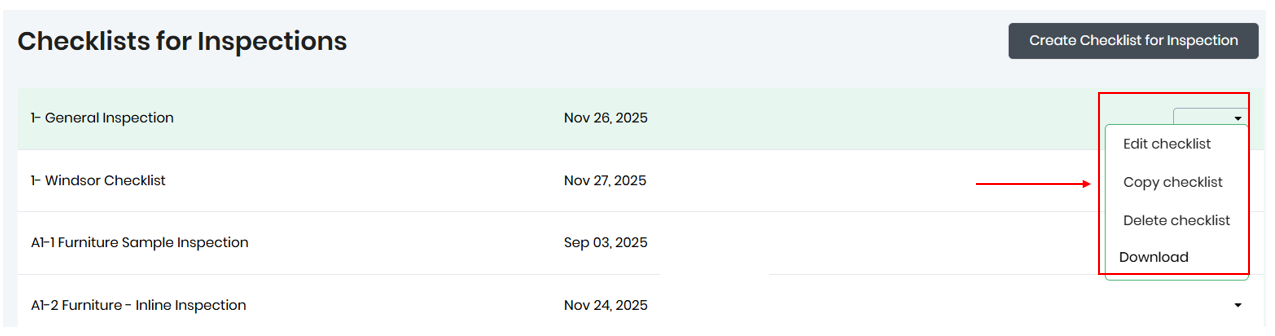
Create and copy checklists
Under the Checklist menu, you can click the Create checklist button to create a new checklist from scratch:

You can also use an existing checklist as a starting point by creating a copy
This menu is also useful for deleting a checklist that should no longer be used.
Edit a checklist
This guide briefly explains how to edit existing checklists. Checklists consist of Headers and Checkpoints. The headers can be used to organize the checkpoints into sections, as shown below: In this example, there are three sections in the checklist. Clicking on a section title will expand and collapse it to show the checkpoints inside.

When performing the inspection in the app, the headers will provide a visual summary of the status of the checkpoints:

Headers
Headers can be added by clicking Add header. To change the name of a header or to delete a header, click the pencil icon:

Checkpoints
Checkpoints can be added by entering text at the bottom and clicking the Add checkpoint button or press Enter.

Checkpoints will be added at the bottom-most header, but you can drag checkpoints into the desired position by dragging them with the mouse.
Clicking on the checkpoint allows you to edit the text and also gives you access to set additional properties for the checkpoint, as shown below:

The additional properties are described in the Checkpoint Types guide.
Delete and duplicate checkpoints
The checkboxes next to the checkpoints can be used to Delete Selected and Duplicate Selected checkpoints:
